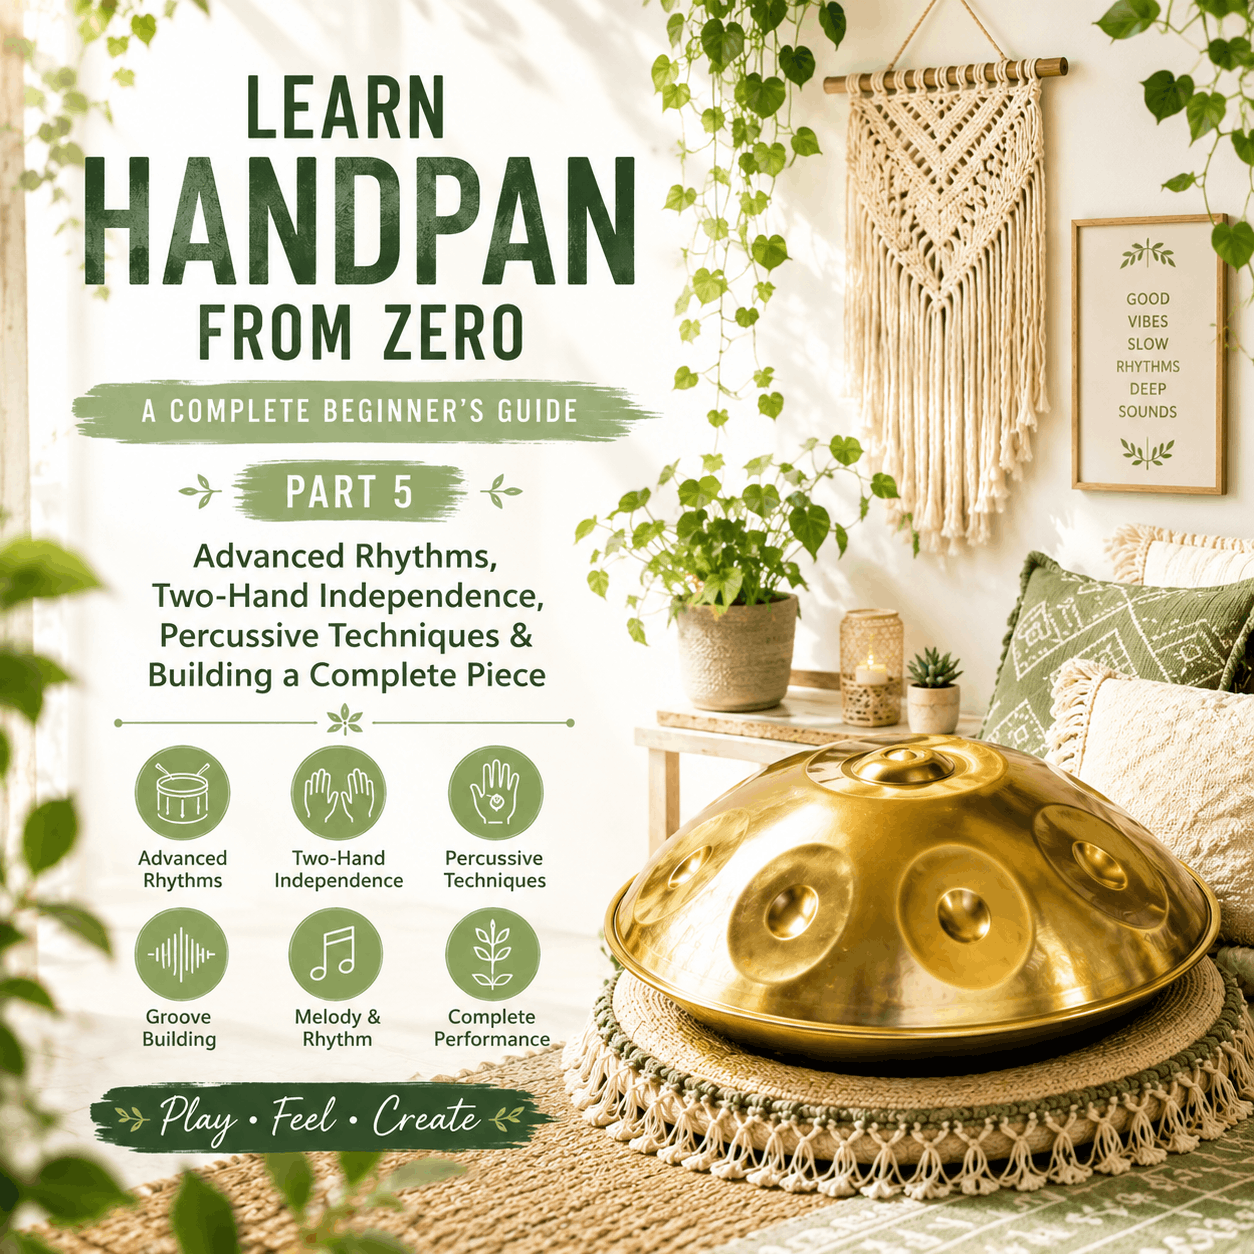
Advanced Rhythms, Two-Hand Independence, Percussive Techniques, and Building a Complete Piece
Advanced Rhythms, Two-Hand Independence, Percussive Techniques, and Building a Complete Piece
In the previous four parts of this series, we gradually built our handpan skills from the ground up.
First, we became familiar with the instrument and its structure. Then we learned proper striking techniques, simple rhythms, hand coordination, melody building, and improvisation.
Now it is time to take another important step forward.
At this stage, the goal is no longer simply to play the correct notes or repeat a basic pattern.
The goal is to learn how to:
Create rhythm.
Place melodies over rhythms.
Use both hands independently.
Combine melodic and percussive sounds.
Create a groove.
Control the intensity and speed of your playing.
Build a complete musical structure.
And eventually perform a short piece from beginning to end.
If you have practiced the previous sections, this part can be the point where your handpan playing begins to move from simple exercises toward real musical performance .
---
1. Before We Begin: One Important Point
At this stage, you should not think that becoming a better player means immediately increasing your speed.
One of the biggest mistakes beginners make is trying to play a new pattern as fast as possible as soon as they learn it.
Professional playing is not primarily about speed. It is much more about:
Control
Accuracy
Steady rhythm
Clean sound
Coordination
Dynamics
Musical expression
So if you can play a pattern slowly but cleanly, you are moving in the right direction.
Speed should be the result of control, not a replacement for it.
---
2. What Does Two-Hand Independence Mean?
Two-hand independence means being able to control each hand separately and give each hand a different role.
In the simplest situation, your right and left hands may alternate between notes:
Right – Left – Right – Left
But gradually, we can make the pattern more complex.
For example:
Left hand = steady rhythm
and
Right hand = melody
In this situation, your two hands are no longer doing exactly the same thing.
This is one of the foundations of more advanced handpan playing.
---
3. Your First Two-Hand Independence Exercise
To begin, choose one note for your left hand and one note for your right hand.
For example:
Left hand → A
Right hand → B
Now play:
Left – Right – Left – Right
In other words:
A – B – A – B
Start very slowly.
Once you can play the pattern without stopping, gradually reduce the amount of time between the strikes.
The goal is not to play fast.
The goal is to allow each hand to perform its own role without interfering with the other hand.
---
4. Adding a Third Note
Now add a third note.
Suppose:
Left hand → A
Right hand → B and C
Now play:
A – B – A – C
Again:
A – B – A – C
In this exercise, the left hand has a more stable role while the right hand has more freedom.
This is exactly the kind of coordination you will need later when building grooves and combining rhythm with melody.
---
5. Separate Rhythm from Melody
One of the most important skills we develop in this section is learning to separate two musical layers.
Instead of thinking about everything at once, divide the music into two parts:
Layer One: Rhythm
A steady pattern that keeps the music moving.
Layer Two: Melody
The notes that move over the rhythm.
For example:
Rhythm:
A – A – A – A
Melody:
B – C – D – C
Now combine the two.
This simple concept is the foundation of many more advanced playing patterns.
---
6. What Is Groove?
In music, the word groove generally refers to a rhythmic feeling or repeating pattern that gives the music movement and a particular character.
On the handpan, a groove can be created through a combination of:
Rhythm + Repetition + Accents + Pauses + Small Variations
For example:
Ding – A – Ding – B
If you repeat this pattern with consistent timing and clear accents, it gradually begins to create a rhythmic feeling.
You can then place a melody over it.
---
7. Exercise: Creating a Simple Groove
Think of four beats:
1 – 2 – 3 – 4
Now:
Beat 1 → Ding
Beat 2 → Note A
Beat 3 → Ding
Beat 4 → Note B
So:
Ding – A – Ding – B
Repeat this pattern several times.
Then change only the final note:
Ding – A – Ding – C
Then return to the original pattern:
Ding – A – Ding – B
This is one of the simplest ways to create a rhythmic foundation.
---
8. Accenting Certain Beats
Not every beat needs to sound exactly the same.
Suppose we have four beats:
1 – 2 – 3 – 4
You can make beats one and three slightly more prominent.
For example:
Strong – Soft – Strong – Soft
This small change can significantly improve your rhythmic feel.
Keep in mind that “stronger” does not mean hitting the instrument aggressively.
It means using controlled technique to make certain sounds slightly more prominent than others.
---
9. Rhythmic Accent Exercise
Choose a simple pattern:
A – B – C – D
Now:
First time:
A – B – C – D
Play all four notes with approximately the same intensity.
Second time:
A – B – C – D
But place more emphasis on A and C.
Third time:
Place more emphasis on B and D.
Now listen to how the feeling changes between the three versions.
This exercise shows you that you can change the character of your music even without changing the notes.
---
10. What Are Percussive Techniques?
The handpan is not only a melodic instrument.
Depending on the instrument and where you strike it, different areas can produce different sounds that can be used in rhythmic and percussive ways.
At this stage, you can gradually become familiar with these different sounds.
However, remember:
Learn sound quality before speed and complexity.
Practice every new technique slowly and with control.
---
11. The Rim and Edge of the Instrument
One of the areas that can be explored for rhythmic sounds is the region near the edge or rim of the instrument.
The sound from this area can be different from the main tonal notes and can be used to add rhythmic variation.
Try this simple exercise:
Central note → Edge sound → Central note → Edge sound
Repeat the pattern very slowly.
At this stage, the goal is simply to become familiar with the difference between the sounds.
---
12. Exercise: Combining Notes and Percussive Sounds
Now create a four-beat pattern:
1 → Ding
2 → Percussive sound
3 → Melodic note
4 → Percussive sound
In other words:
Ding – Percussion – A – Percussion
If this pattern feels difficult, slow down.
Once you feel comfortable, change the melodic note.
For example:
Ding – Percussion – B – Percussion
Then:
Ding – Percussion – C – Percussion
---
13. Why Is Combining Percussion and Melody Important?
When you play only melodic notes, your music may have a calm and flowing quality.
When you add rhythmic sounds, the music can gain more movement and energy.
This combination allows you to create two roles at the same time:
Rhythm
and
Melody
This is one of the most fascinating aspects of playing the handpan.
---
14. Important Exercise: One Hand for Rhythm, One Hand for Melody
Now we come to one of the most important exercises in this section.
Suppose:
Left hand = Rhythm
Right hand = Melody
Play this steady pattern with your left hand:
A – A – A – A
At the same time, your right hand plays:
B – C – D – C
Now combine them.
If you cannot play both at the same time yet, practice each pattern separately first.
Then combine the two patterns at a very slow speed.
This exercise may feel difficult at first, but with repetition, your brain and hands gradually learn how to control two different tasks at the same time.
---
15. Should You Use a Metronome?
Yes.
A metronome can be a very useful tool for developing your sense of rhythm.
However, you do not need to start at a high speed.
Begin with a comfortable, slow tempo.
Think of each metronome beat as one note:
Tick – Tick – Tick – Tick
And play:
A – B – C – D
Then change the pattern.
Using a metronome helps you discover whether your rhythm is actually steady or whether you are unconsciously speeding up and slowing down while playing.
---
16. Metronome Exercise
Choose a comfortable tempo.
Play one note on every beat:
1 – 2 – 3 – 4
Then:
1 – 2 – 3 – 4
Now leave some beats empty:
1 – Silence – 3 – Silence
Then:
1 – 2 – Silence – 4
This exercise teaches you to understand silence as a rhythmic element as well.
---
17. Subdivision: Dividing the Beat
Once you can control the main beats, you can begin dividing each beat into smaller sections.
Instead of:
1 – 2 – 3 – 4
you can count:
1 and 2 and 3 and 4 and
This means that there is an additional subdivision between each main beat.
Now you can create more rhythmic patterns.
For example:
A – B – A – C – A – B – A – D
This stage helps you develop greater control over smaller rhythmic divisions.
However, if you are still struggling with the main beats, stay with the simpler exercises for now.
---
18. Subdivision Exercise
First, count out loud:
1 and 2 and 3 and 4 and
Now play a note on the numbers.
Then add another strike on the “and.”
For example:
1 → A
and → B
2 → A
and → C
Practice this slowly.
Over time, you will notice that your hands become better at controlling smaller rhythmic spaces.
---
19. Creating a Four-Bar Rhythmic Pattern
Now we are going to take another step forward.
Instead of using only one bar, create four bars.
Bar One
Ding – A – Ding – B
Bar Two
Ding – A – C – B
Bar Three
Ding – B – A – C
Bar Four
Ding – A – B – Ding
Now play all four bars continuously.
When you reach the fourth bar, return to the first bar.
If you can perform this cycle without stopping, you have created a simple musical loop .
---
20. What Is a Loop?
A loop is a musical pattern that can be repeated multiple times.
For example:
A – B – C – B
can be played repeatedly.
You can then create a new melody over it.
Loops are very useful for improvisation because they provide a stable foundation while allowing your other hand to move more freely.
---
21. How to Improvise Over a Loop
Create a four-bar loop.
For example:
Ding – A – B – C
Repeat it several times.
Now change one small thing with each repetition.
First round:
Play the main melody.
Second round:
Change one note.
Third round:
Add a pause.
Fourth round:
Use a different ending.
Then return to the original pattern.
This approach allows you to improvise without losing the structure of the music.
---
22. Building a Complete Musical Piece
Even a short musical piece benefits from having a structure.
For beginners, you can use the following structure:
Section A – Introduction
Calm and simple.
Section B – Introducing the Rhythm
The rhythm becomes more noticeable.
Section C – Main Melody
Introduce the main melodic idea.
Section D – Climax
Increase the rhythmic activity and intensity.
Section E – Return
Return to a calmer atmosphere.
Section F – Ending
Finish with a clear musical phrase.
This simple structure can create a complete piece lasting two to five minutes.
---
23. How Should You Play the Introduction?
The introduction should usually remain simple.
You can start with only the Ding.
For example:
Ding → Pause → Ding → Note A
Then:
Ding → A → B
Gradually add more notes.
This gives the listener the feeling that the music is slowly developing.
---
24. How Do You Create a Climax?
A climax does not always mean playing faster.
You can create a sense of climax in several ways:
Gradually increasing volume.
Adding more notes.
Using denser rhythms.
Increasing melodic variation.
Using both hands more actively.
Reducing the number of pauses.
Changing the rhythmic pattern.
However, all of these changes should remain controlled.
If you change everything at the same time, the music can become crowded and unstructured.
---
25. How to End a Musical Piece
The ending of a piece is just as important as its beginning.
One simple method is to return to the central note or Ding.
For example:
A – B – C – B – Ding
Then allow the Ding to resonate fully.
The silence after the final note can also become part of the ending.
So after the final strike, do not immediately move on.
Let the sound of the instrument naturally fade away.
---
26. Exercise: Create a Two-Minute Piece
Now we have a more serious challenge.
The goal is to create a piece approximately two minutes long.
Step 1
Start calmly using the Ding and a few simple notes.
Step 2
Add a four-beat rhythm.
Step 3
Create a short melody.
Step 4
Repeat the melody.
Step 5
Introduce a small variation.
Step 6
Gradually increase the intensity.
Step 7
Reach the climax.
Step 8
Reduce the rhythmic activity.
Step 9
Return to the Ding.
Step 10
Allow the final note to resonate fully.
Congratulations!
If you can follow these steps, you have essentially created your first structured handpan piece.
---
27. How Do You Know If You Have Created a Good Piece?
A good piece does not necessarily have to be complicated.
After recording your performance, ask yourself:
Does the piece have a clear beginning?
Is the rhythm recognizable?
Is the melody recognizable?
Do the sections connect with one another?
Are the changes too sudden?
Is there enough silence?
Does the piece have a clear ending?
Does it communicate a particular feeling?
If the answer to some of these questions is no, don’t worry.
This is simply part of the process of learning musical composition.
---
28. Recording and Reviewing Your Performance
At this stage, recording your practice becomes even more valuable.
Record a two- or three-minute performance.
Then listen to it and write down three things:
Strength
For example:
“The rhythm in the first section was steady.”
Weakness
For example:
“The tempo became too fast during the climax.”
What Needs Practice
For example:
“Coordination between the left and right hands.”
This makes your practice more focused and purposeful.
---
29. Practicing Without Looking at Your Hands
One important goal in playing the handpan is gradually learning to locate the notes through muscle memory rather than constantly looking at your hands.
Start with a very simple pattern.
Practice it several times while looking at your hands.
Then look away.
Continue slowly.
If you make a mistake, look again and repeat the exercise.
Over time, your brain will become more familiar with the physical location of the notes.
---
30. How Does Muscle Memory Develop?
When you repeat a movement many times using correct technique, it gradually becomes more natural.
But there is an important point:
Repeating a mistake creates a bad habit.
If you repeatedly play a pattern with incorrect rhythm or poor technique, correcting it later can become more difficult.
That is why:
Slow + Correct + Repetition
is better than:
Fast + Incorrect + Repetition
---
31. How Can You Increase Your Speed?
Once you can comfortably control a pattern, you can gradually increase the speed.
For example:
Start at a comfortable tempo.
Then increase it slightly.
If you still feel completely comfortable, increase it again.
However, if:
Your strikes become uneven,
Your rhythm becomes unstable,
You start hitting the wrong notes,
Your hands become tense,
then the tempo is probably too fast for your current ability.
In that case, slow down again.
---
32. Breathing While Playing
Do not forget to breathe.
Some students unconsciously hold their breath when concentrating intensely.
Try to maintain natural breathing while playing.
Calm breathing can help your body stay relaxed and improve movement control.
Especially during slow and longer pieces, your breathing can even become naturally connected to the phrasing of the music.
---
33. Body and Hand Position
While practicing:
Do not raise your shoulders unnecessarily.
Keep your hands relaxed.
Keep your wrists free and flexible.
Avoid leaning too far over the instrument.
Sit in a comfortable position.
Avoid unnecessary tension in your fingers.
If you notice that your body is becoming too tense, pause for a moment and start again calmly.
Good playing is not only about finger movement. Your entire body should remain comfortable and controlled.
---
34. Do You Always Need to Alternate Hands?
No.
Alternating right and left hands is very useful for practice, but it is not an absolute rule.
In real music, you may play one note with one hand, two consecutive notes with the other hand, or use a combination of different movements.
The main goal is for your movement to be:
Natural, controlled, and appropriate for the music.
So put technique at the service of the music, not the music at the service of technique.
---
35. Improvisation at This Stage
Now that you are familiar with rhythm, groove, loops, and two-hand independence, your improvisation can become more structured.
A useful method is:
Rule One
Keep a steady rhythm.
Rule Two
Limit the number of notes.
Rule Three
Make one small variation every few repetitions.
Rule Four
Allow yourself to stop and create silence.
Rule Five
Return to the central note at the end.
With these five rules, your improvisation can move beyond random note playing and become more musical and intentional.
---
36. A Five-Minute Improvisation Exercise
Minute One
Play only the main rhythm.
Minute Two
Add a simple melody.
Minute Three
Change the melody.
Minute Four
Increase the intensity and rhythmic activity.
Minute Five
Gradually become calmer and finish the piece.
Practice this exercise every day.
Over time, you will notice that your mind becomes faster at creating musical phrases.
---
37. Common Mistakes at the Intermediate Level
1. Focusing Too Much on Speed
High speed without control does not equal professional playing.
2. Using Too Much Technique
Sometimes a player becomes so focused on technique that the actual music gets lost.
3. Having No Structure
Improvisation without structure can become repetitive very quickly.
4. Using Too Many Notes
More notes do not always mean better music.
5. Forgetting Silence
Silence can give your music room to breathe.
6. Constantly Changing the Rhythm
If the rhythm changes too often, the listener may have difficulty following the structure.
7. Ignoring Sound Quality
Even the most complicated patterns can lose their appeal if they are played with poor sound quality.
---
38. A 30-Minute Practice Routine
Now we can make the practice routine a little more advanced.
First 5 Minutes: Warm-Up
Practice the Ding and the notes around it.
Second 5 Minutes: Technique
Practice striking techniques and right- and left-hand patterns.
Third 5 Minutes: Rhythm
Practice with a metronome.
Fourth 5 Minutes: Two-Hand Independence
Rhythm with one hand and melody with the other.
Fifth 5 Minutes: Groove and Loop
Create a four-bar pattern and repeat it.
Sixth 5 Minutes: Improvisation
Play without following a predetermined pattern.
If you have more time, you can extend each section.
---
39. Seven-Day Practice Plan for Part Five
Day 1
Practice two-hand independence.
Day 2
Practice rhythmic accents.
Day 3
Practice with a metronome and work on subdivisions.
Day 4
Practice percussive sounds.
Day 5
Create a four-bar groove.
Day 6
Create a short musical piece.
Day 7
Record a complete performance and review it.
---
40. The Final Challenge of Part Five
Now it is time for a challenge.
Try to create a short piece without using a pre-existing song.
Your piece should include:
Minimum duration: 2 minutes
Minimum number of sections: 3
At least one steady rhythm
At least one recognizable melody
At least one change in dynamics
At least one pause
At least one improvisational section
A clear ending
A suggested structure:
Section A
Calm introduction
Section B
Rhythm enters
Section C
Main melody
Section D
Improvisation and climax
Section E
Return to a calmer atmosphere
Section F
Ending with the Ding
If you can record this piece and perform it from beginning to end without stopping, you have made excellent progress.
---
Conclusion
In this part, we reached a stage where handpan playing begins to move from individual exercises toward creating real music .
We learned:
What two-hand independence means.
How to use one hand for rhythm and the other for melody.
How to create a groove.
How to combine rhythm and melody.
How to use percussive sounds to create variation.
How to accent certain beats.
How to practice with a metronome.
How to divide beats into smaller rhythmic subdivisions.
How to create a loop.
How to improvise over a loop.
How to create a structured musical piece.
How to build an introduction, climax, and ending.
How to record and review our performance.
And how to gradually improve speed and control.
But the most important lesson of this section is:
A good handpan player is not someone who can play the most notes in the shortest amount of time. A good player knows when to play a particular note, with what rhythm, at what intensity, and with what emotion.
The handpan allows you to create a huge world of sound and emotion using a relatively limited number of notes. The more control you develop over rhythm, silence, dynamics, melody, and hand coordination, the more personality your music will have.
At this stage, you are no longer simply learning an instrument ; you are gradually discovering your own musical language .
What Will We Learn in Part Six?
In the next part, we can move into more advanced handpan techniques, including professional playing techniques, finger speed and accuracy, more complex rhythmic patterns, ghost notes, accents, dynamic control, combining multiple patterns, and building a professional performance.
We can also learn how to design and prepare a complete handpan piece, from the initial musical idea all the way to the final performance. 🎶